

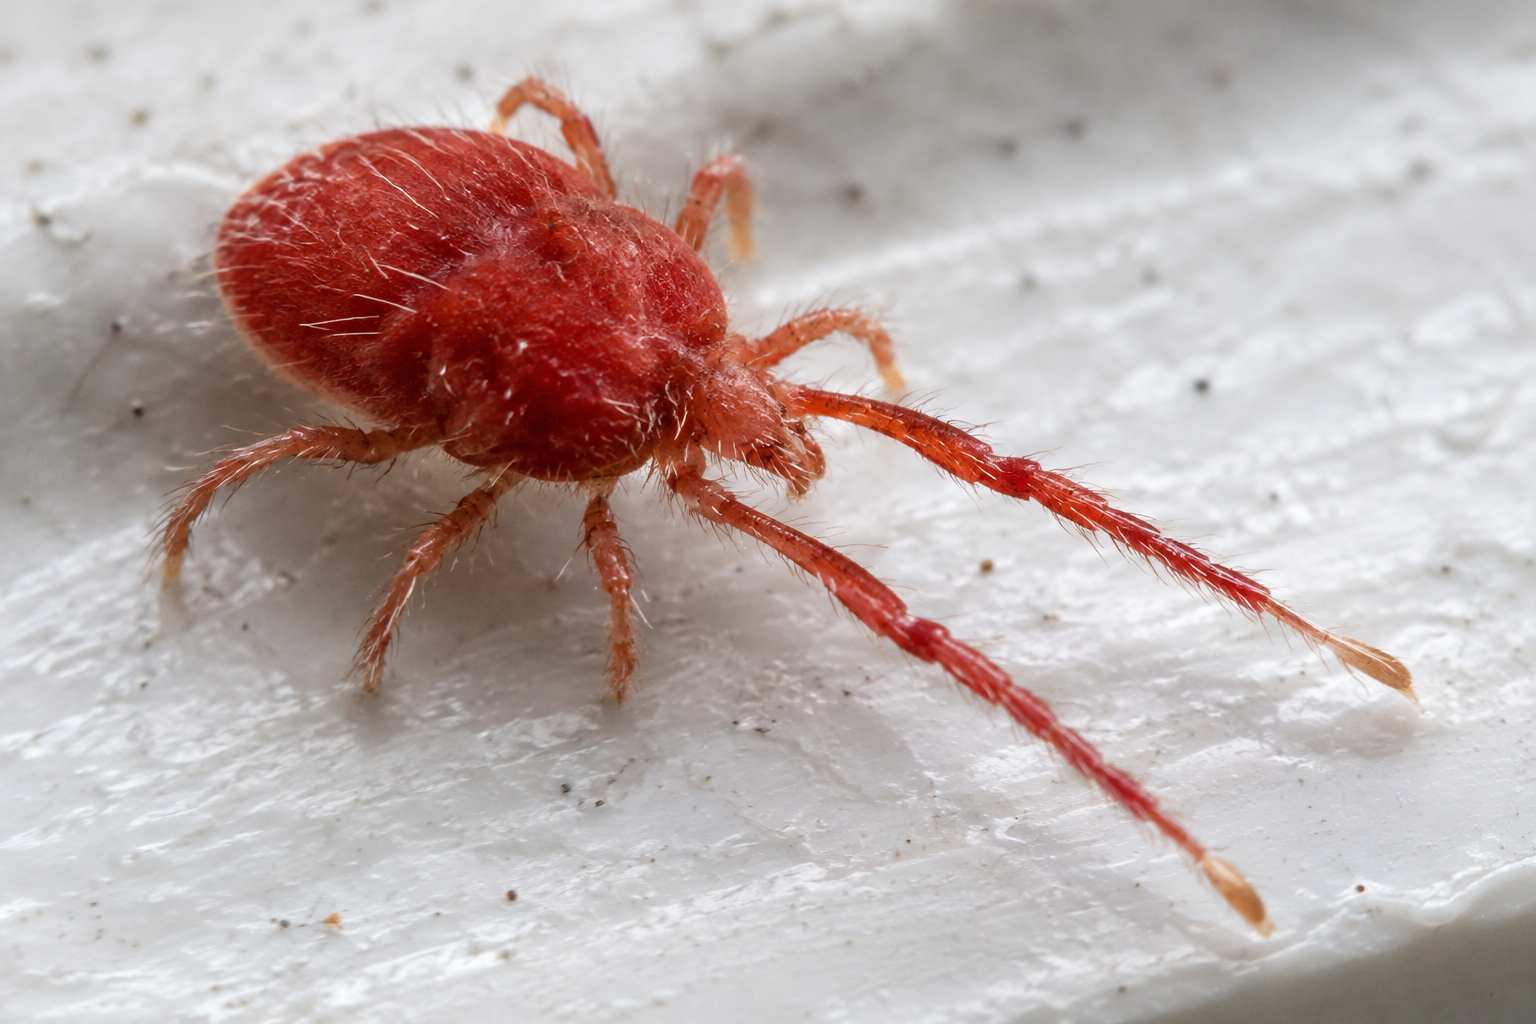
Clover mites on windowsills are usually a nuisance rather than a health threat. Vacuum them gently instead of crushing them, since their body pigment can leave red stains. Before treating anything, check their appearance and where they are gathering because several tiny mites and insects can look similar.
Quick answer: Clover mites are pinhead-sized plant feeders that often enter through gaps around sunny windows. They don’t bite people or infest food, but removing them carefully and sealing their entry points helps prevent repeated invasions.
How to identify clover mites on windowsills
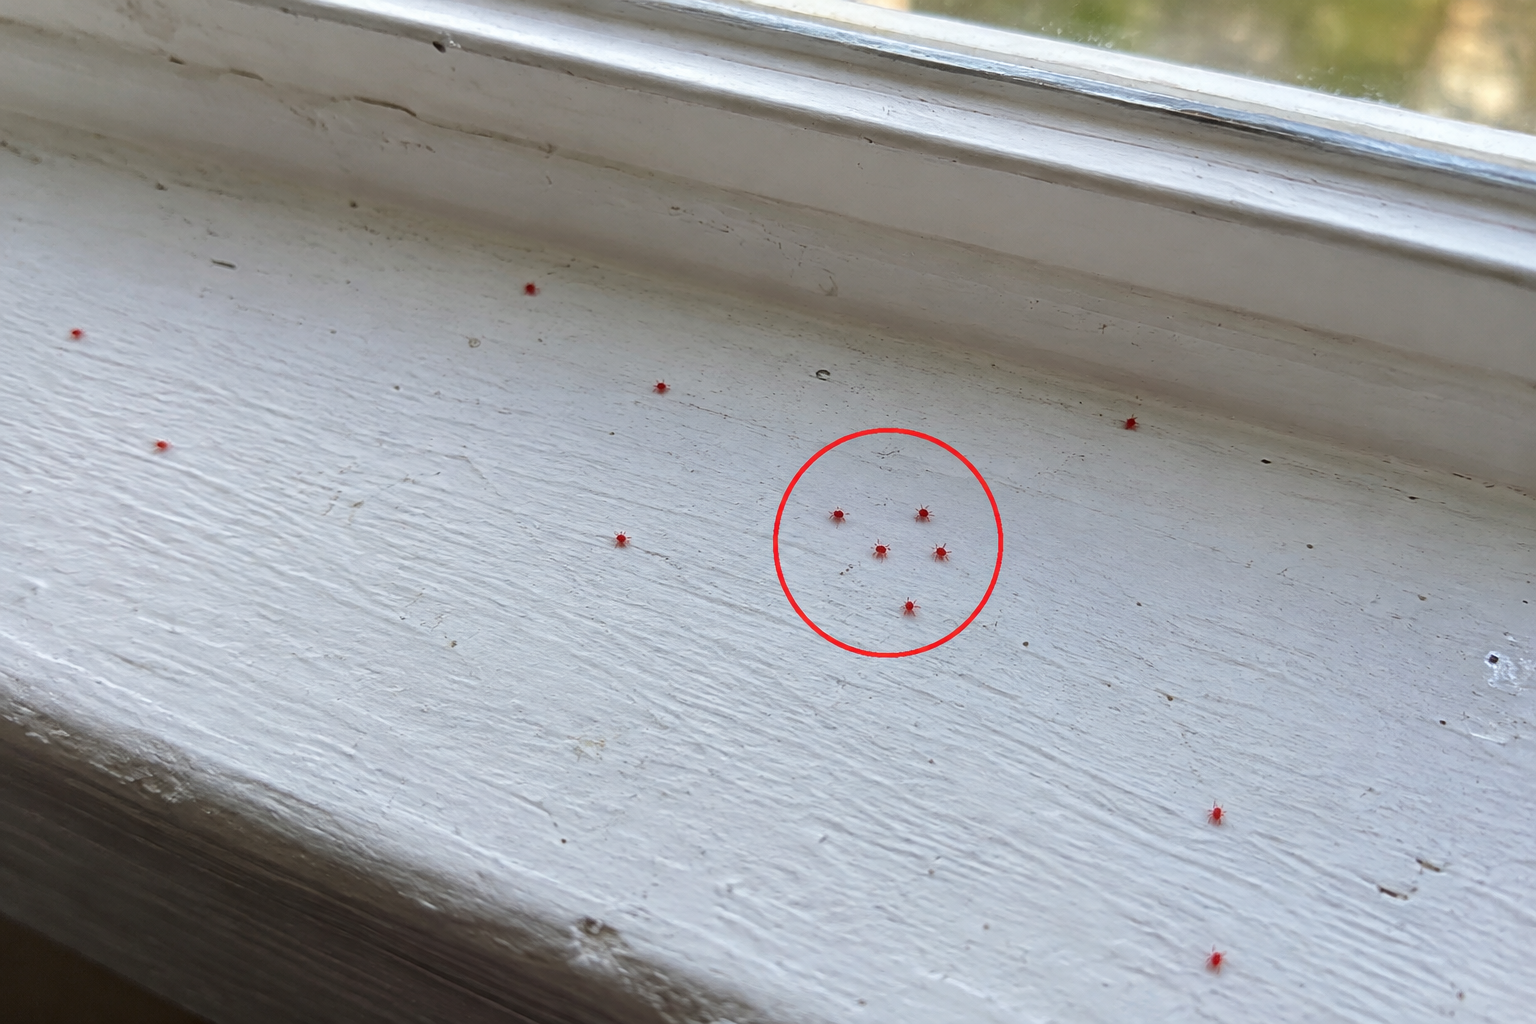
Clover mites are extremely small arachnids, usually no larger than a printed period. Depending on lighting and age, they may appear red, reddish-brown, olive, or dark green.
A magnifying glass or a close, sharply focused photograph can reveal their most useful features:
- Eight legs: Like other mites, adults and nymphs have eight legs.
- Very long front legs: The front pair extends forward and can resemble antennae.
- Slow crawling: They usually crawl rather than jump or fly.
- Groups near light: They commonly collect on windowsills, curtains, walls, and other bright surfaces.
- Red staining when crushed: Their pigment can leave a reddish mark on paint, fabric, paper, or upholstery.
A red smear does not mean the mite fed on blood. Clover mites feed on grasses, clover, weeds, ornamental plants, and other vegetation. They don’t bite people or pets, damage buildings, or establish themselves in stored food.
Identification from size and color alone is uncertain. Spider mites generally remain on plants and may produce fine webbing. Chigger larvae have six legs and are more closely associated with outdoor vegetation than indoor windowsill gatherings. If the pests are biting, jumping, flying, or visibly larger than a pinhead, another identification is more likely.
Why clover mites come inside
Clover mites usually enter from vegetation growing close to the building. They can pass through very small cracks around window frames, siding, doors, foundations, utility lines, and vents.
Indoor sightings are often concentrated on warm, sunny sides of a home. Population movement may increase when outdoor conditions change or when nearby plants no longer provide suitable shelter and food. Lush, heavily fertilized grass against the foundation can also support larger populations.
Finding several mites indoors doesn’t necessarily mean they are breeding throughout the house. The more useful question is where they are entering. Check the outside of the affected window and the wall immediately below it for cracks, dense vegetation, and mites gathering on the surface.
What to do with clover mites indoors
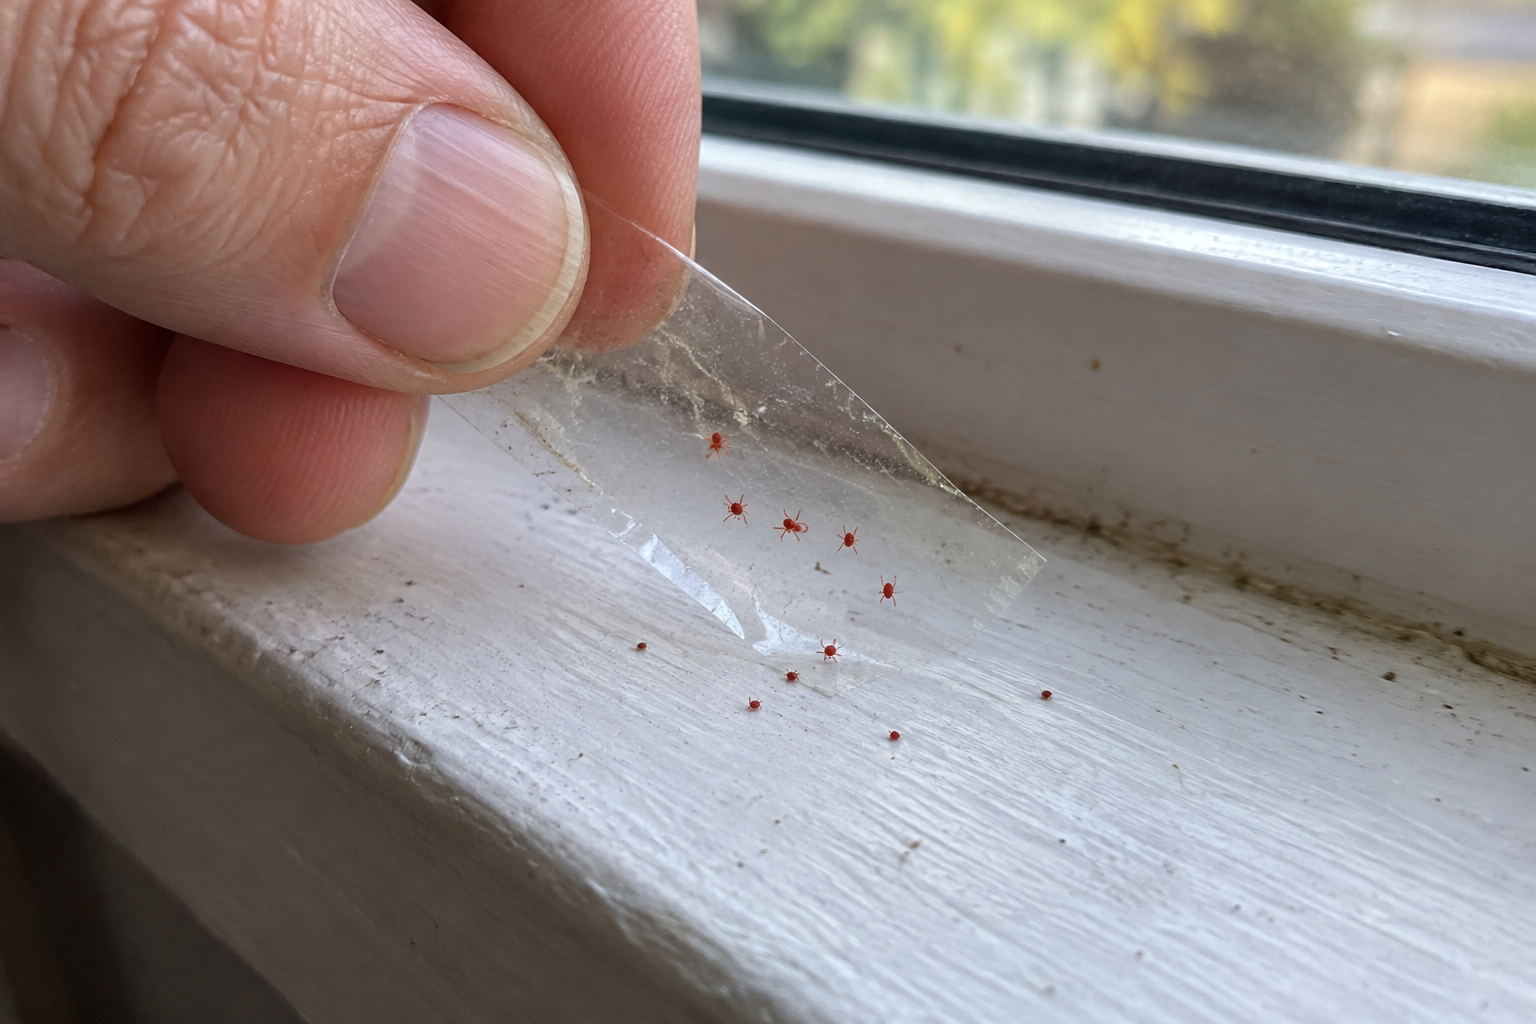
Remove visible mites mechanically before making larger control decisions. This provides immediate relief without spreading stains or exposing the room to an unnecessary pesticide.
- Vacuum them with light suction. Use a hose or crevice attachment without pressing it against the mites.
- Empty the vacuum promptly. Seal and discard the bag, or empty the canister into an outdoor trash container.
- Lift isolated mites carefully. Sticky tape can pick up a few mites without crushing them into the surface.
- Test stain cleaning first. If a red mark remains, try your normal surface cleaner on an inconspicuous spot before treating visible paint or fabric.
Avoid wiping, sweeping, or pressing the mites with your fingers. These methods are more likely to leave pigment stains.
Don’t use foggers or spray an entire room for a few mites on one sill. Indoor spraying does not correct the exterior source or the gaps allowing them inside.
Block the routes they are using
Once the visible mites are gone, inspect the affected window closely. Repair damaged screens and seal accessible gaps around the frame with a material appropriate for that part of the building.
Also check nearby:
- Door frames and thresholds
- Cracks where siding meets trim
- Foundation joints and openings
- Gaps around cables, pipes, and vents
- Loose weatherstripping
- Branches or groundcover touching the wall
Trim plants back from the foundation and avoid maintaining dense, continuously moist vegetation against the house. A dry, plant-free border can make the immediate foundation less favorable, but choose its width and materials with drainage, erosion, fire-safety, and landscaping needs in mind.
Avoid overfertilizing lawn areas beside the building. Follow soil-test results and local lawn-care guidance rather than adding fertilizer in response to mite activity.
Monitor before considering pesticide treatment
After cleaning and sealing, watch the same windows for another week or two. Place small pieces of clear tape near suspected gaps to detect continued movement, keeping adhesive where children and pets cannot contact it.
Repeated clusters point to an entry route or outdoor population that still needs attention. Inspect during daylight when mites are easier to see on pale siding and concrete. Note which windows, walls, and weather conditions correspond with new activity.
If pesticide treatment becomes necessary, use only a product whose current label lists clover mites and the intended location. Follow the complete label, including restrictions involving indoor surfaces, children, pets, edible plants, pollinators, and water. A product labeled for outdoor perimeter use should not be applied indoors unless the label specifically permits it.
When professional help makes sense
Consider a licensed pest professional when mites return in large numbers despite vacuuming, vegetation changes, and sealing accessible gaps. Professional help is also reasonable when entry points are high above the ground, hidden behind exterior materials, or unsafe to reach.
Ask for identification before treatment and an explanation of the likely exterior source. Renters should document affected windows with clear photographs and notify the landlord or property manager about damaged seals or exterior gaps.
For a small windowsill gathering, start by capturing a few mites on clear tape, vacuuming the rest, and inspecting the outside of that window. Those steps provide both immediate control and better evidence about where the mites are coming from.
