

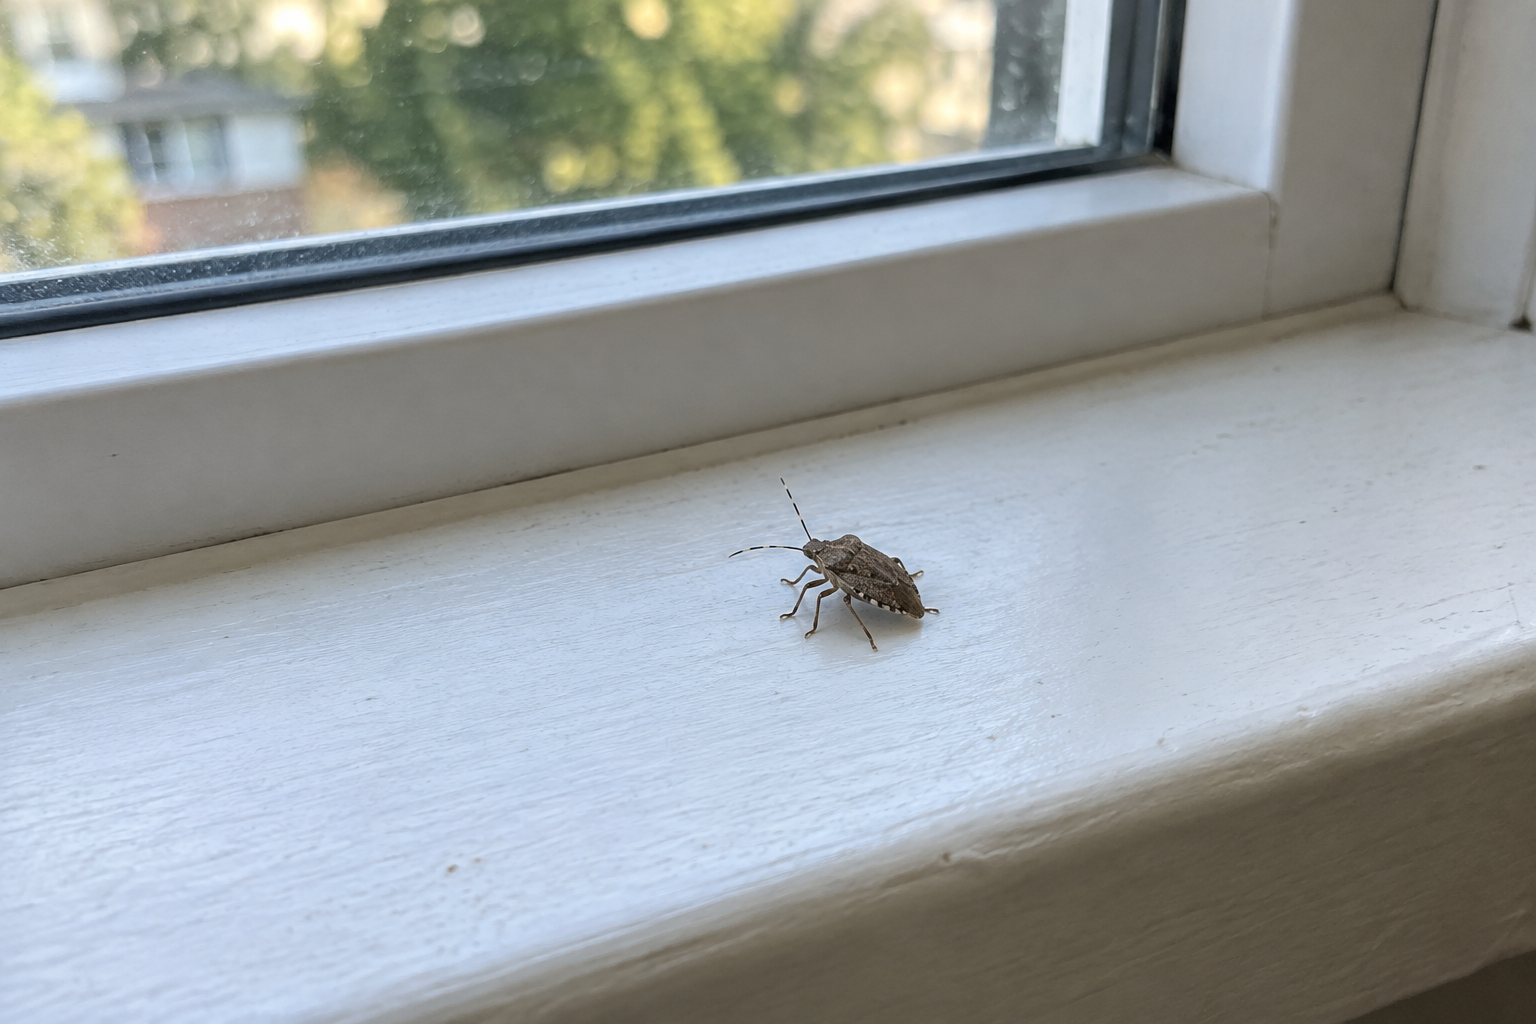
To get rid of stink bugs in the house, remove visible insects without crushing them, then close the gaps they use to enter. A vacuum or gentle collection works for removal. Indoor sprays and foggers do not stop hidden bugs from emerging later.
Brown, shield-shaped insects with pale bands on their antennae may be brown marmorated stink bugs. Other species look similar, so use these features as clues, not a certain identification.
Remove stink bugs without crushing them
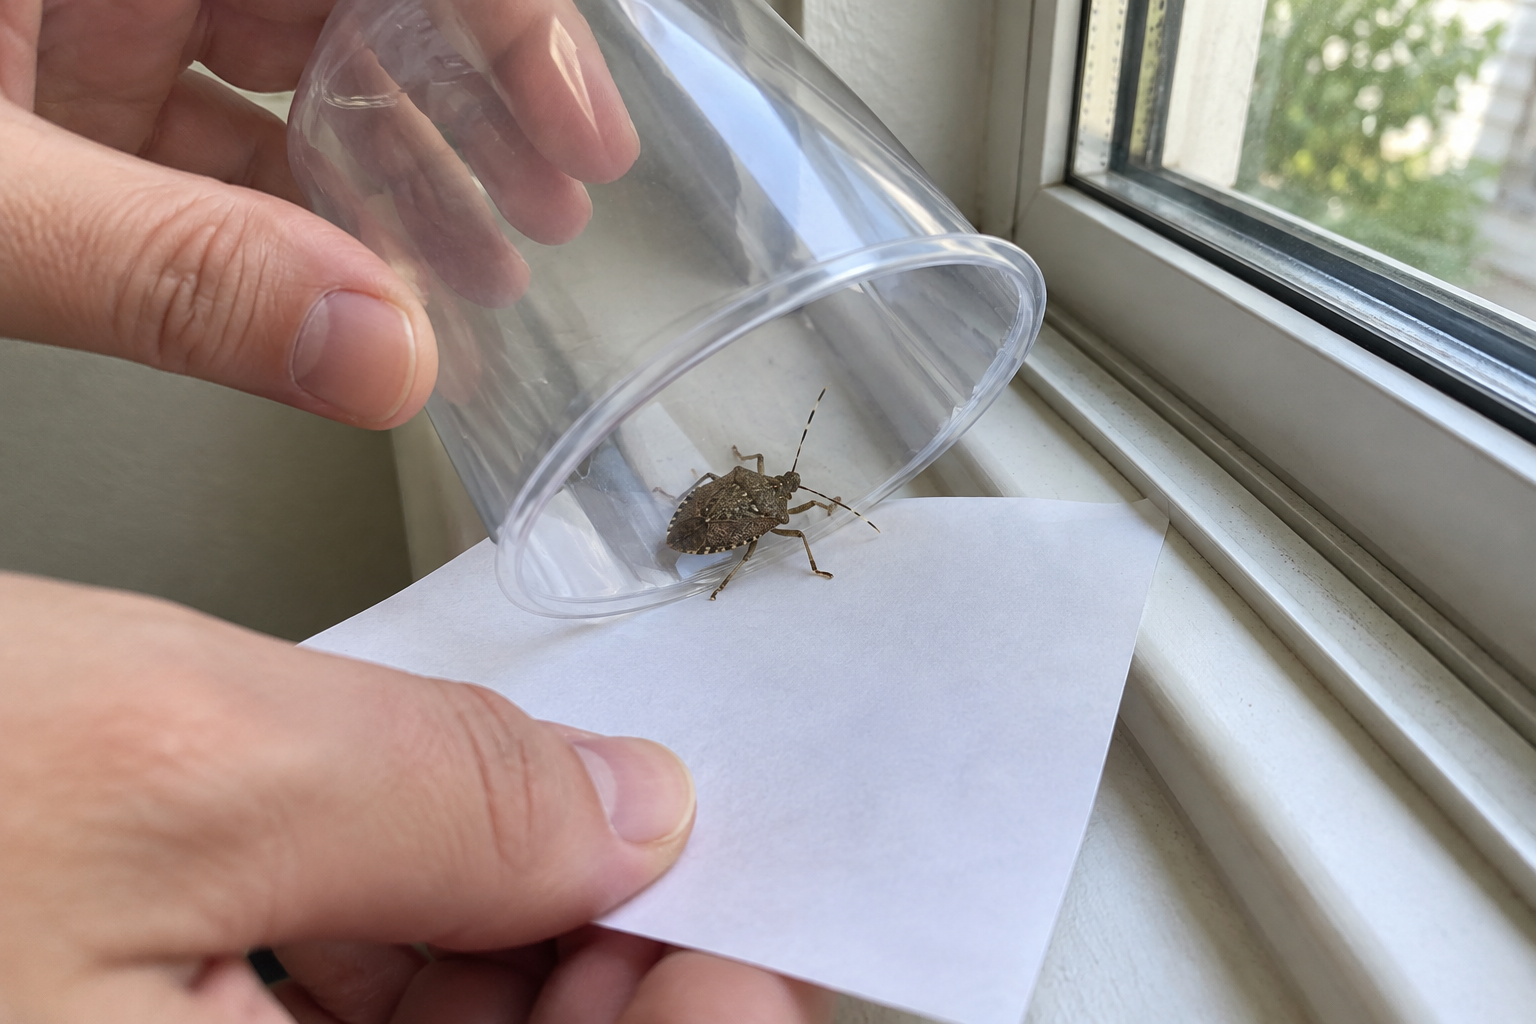
Catch individual bugs with a cup and stiff paper, or gently sweep them into a container of soapy water. Avoid squeezing them: stink bugs release an unpleasant defensive odor when disturbed or crushed. Keep the collection container away from children and pets.
Vacuuming is practical when several insects are scattered around a room. The vacuum may smell afterward. Use a removable bag, or empty the canister outdoors and clean it according to the maker’s instructions.
Remove visible insects as you find them, but don’t assume repeated sightings mean indoor breeding. Brown marmorated stink bugs shelter in buildings during colder weather, but they do not reproduce indoors. They also do not bite or damage the structure.
If identification is uncertain, take a clear photograph before removing the insect. A photo or contained specimen can help an extension service or pest professional distinguish a stink bug from a look-alike.
Check where they may be getting in
Start with the room where you find the most bugs. Inspect accessible areas from indoors or ground level, rather than climbing to follow insects.
Focus on these common openings:
- Window and exterior door frames.
- Torn screens and gaps around screen edges.
- Gaps under exterior doors.
- Openings where pipes or cables enter the house.
- Vent screens and cracks where siding meets trim.
Check in daylight, when gaps may be easier to spot. Repair damaged screens and replace worn door weather stripping. Seal suitable small cracks with caulk, but don’t block working vents or other openings intended for airflow or drainage.
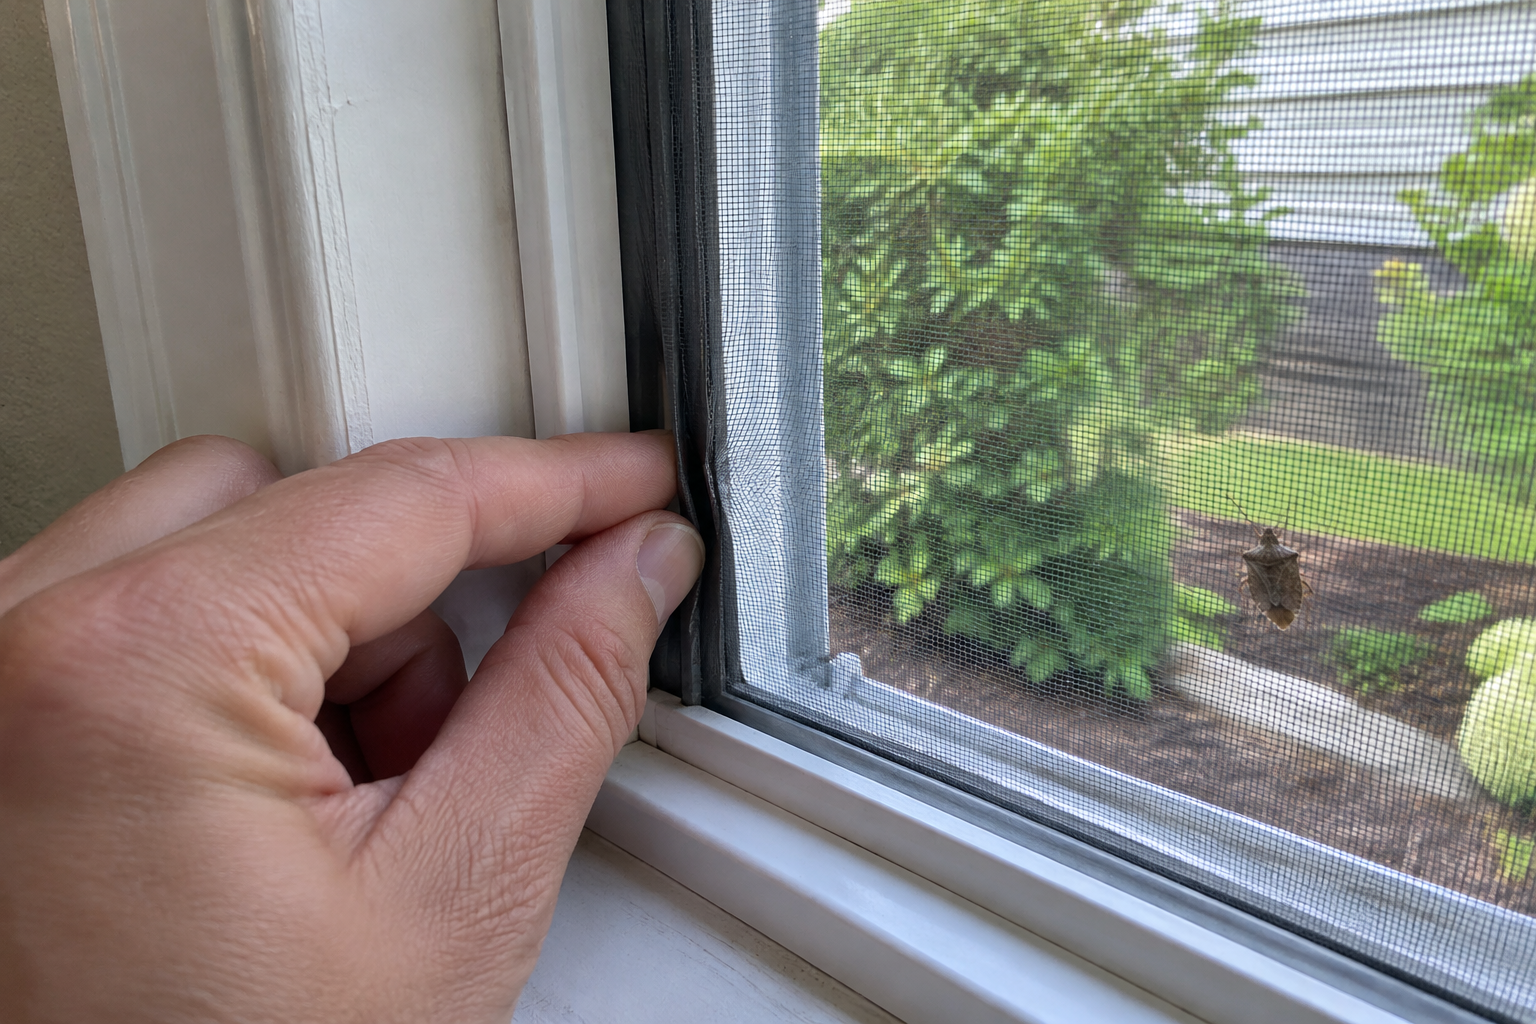
If bugs gather outside near one window or door, inspect the nearby seals first. The cluster gives you a useful starting point, but it does not prove that opening is their only route inside.
Leave roof-level gaps, wall openings, and structural repairs to an appropriate professional. Accessible repairs can reduce entry, but sealing visible gaps cannot guarantee that every insect stays out.
Skip indoor foggers and broad spraying
An indoor spray may kill insects it reaches, but it cannot close entry gaps. It also will not prevent bugs already hidden in cracks or wall spaces from appearing later. Foggers are not a long-term solution.
Removal and exclusion are the better starting points for routine stink bug problems. Spraying room surfaces without addressing entry can add pesticide exposure without resolving the recurrence.
If you consider a pesticide, use only one whose current label covers the confirmed pest and the exact location. Follow the complete label. An outdoor use listed on the package does not mean the product can be used indoors.
When to get help
Arrange an inspection if large numbers keep appearing after accessible gaps are repaired. Professional help also makes sense when the entry route is unclear, inaccessible, or appears to involve a wall or ceiling space.
Ask the professional to identify the insect and check likely entry areas before discussing treatment. The useful question is not simply what kills exposed bugs, but what repairs or targeted measures could reduce continued entry.
Track what happens after repairs
Keep a simple record of sightings as you remove insects and repair gaps. Note the date, room, approximate number, and any nearby window, door, or vent. Dated photos make comparisons easier.
If sightings spread to another room, inspect that room’s windows, doors, and utility openings too. One cluster does not identify every way bugs may be getting in.
Repeated sightings near one opening are a reason to recheck that area, not proof of an exact entry point. Bugs appearing after repairs may already have been sheltering inside. A few later sightings alone do not show that the repair failed.
Use the pattern to choose your next step. If sightings become occasional, continue removing bugs and checking accessible seals. If recurring groups persist, share your notes and photos with a professional so the inspection starts with the areas that need attention.
